02. How to create a blended course with a Virtual Classroom session
5 people found this article helpful
Description
In this guide, we will demonstrate how to create a blended course in Trainingportal, with all features included such as pre-test, eLearning content, exam & virtual classroom. The guide will explain how to add all of this functionality to your course, however, you can create the blended course without most of these components, so please only select the relevant content for your course. Please refer to our more specific user guides if you would like assistance on how to create tests, eLearning content and video uploads.
1 - Initial Course Setup
The first stage of the blended course is to set up a course shell, which will then allow for further configuration. All steps within this stage can be edited once the course has been created:
1.1 - Select the courses tab and then click on create course to begin
1.2 - Add a course title and a relevant course description. This will be visible to both admins and students.
1.3 - You can add further information such as pre-requisites, language and duration. These fields are not mandatory.
1.4 - Once you have populated all of the information, we recommend that you select the save and quit option for this type of course. The configuration and set up of the blended course is much easier to do once the course shell has been created.
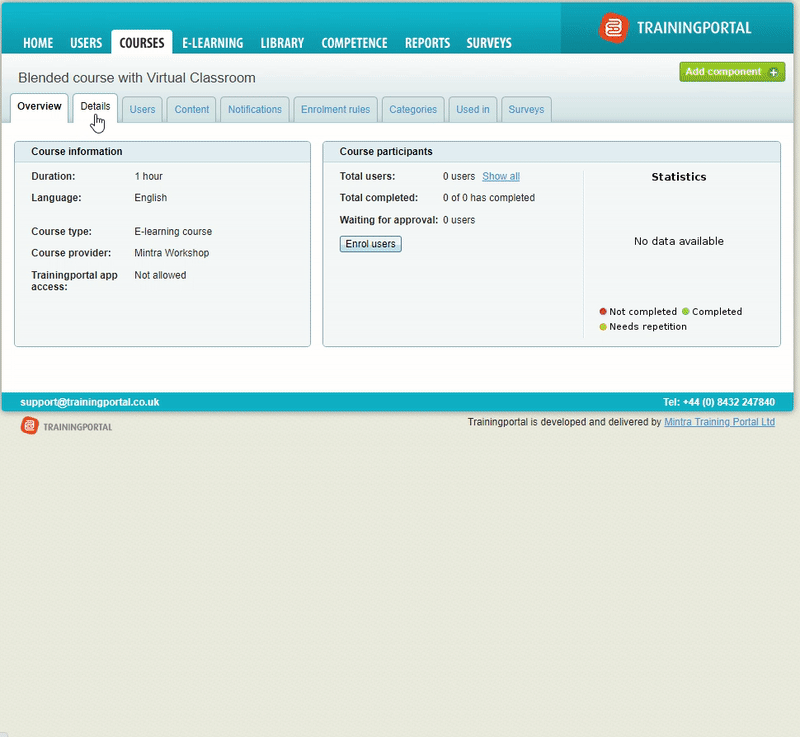
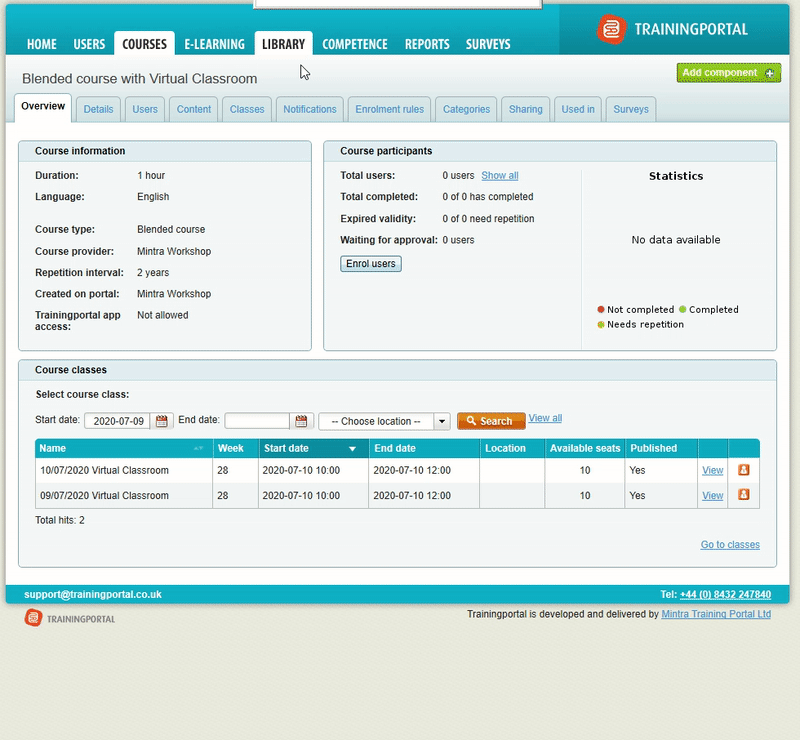
2. Configuring the Course Details
Once the course has been created, the next step is to configure the course details to use the blended course functionality. Within course details you also have some additional options and settings for your course:
2.1 - Select the edit option if you need to change the course title or any course details that have been missed. In this step you can add further information about the course, like the type of exam and the target group for example. You can also add images of the course - the main image uploaded for the course is used as the thumbnail on the student's page when assigned to the course.
2.2 - If you are happy with the course you can change the status to published so that it becomes visible in the course library. We recommend that you keep the course as draft until all configuration has been done.
2.3 - The first important change to the course for setting up the blended functionality and virtual classrooms is to change the course type to blended. Select the edit option for this setting and change it to blended.
2.4 - If the course requires repetition, please add the refresher period using the edit option. If you don't select the refresher course, the current course will remain as the refresher course.
2.5 - Select add course certificate at the bottom to attach a certificate template from the portal library. This will be automatically generated once the user is marked as complete for the full blended course
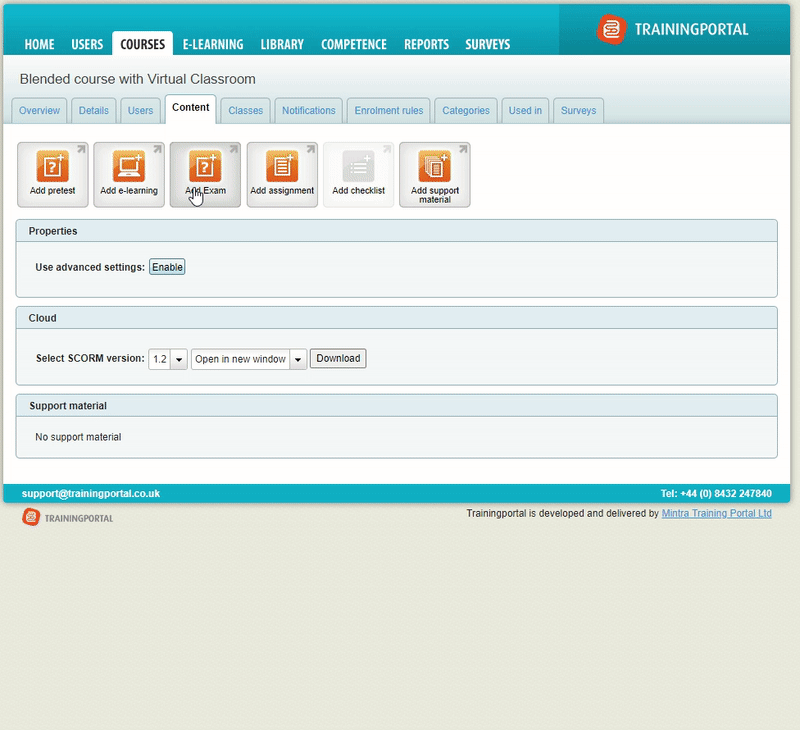
3. Adding Course Content
In the course content tab you will have the option to attach all of the different requirements that you have created in the e-learning tab that will make up the course requirements. In this section we will add an e-learning module and final exam to the course.
3.1 - Select the course content tab and click add e-learning to begin
3.2 - Chose the required content from the library and then next and finish to complete
3.3 - Then select the add exam option. Chose the required question bank from the library and then next to begin
3.4 - Add the exam title and then the description. This information is visible to students when they launch the exam.
3.4 - Click next to move and then setup the exam settings as you require
3.5 - Once you have set the exam settings, click next to set the pass score and then finish to complete the setup
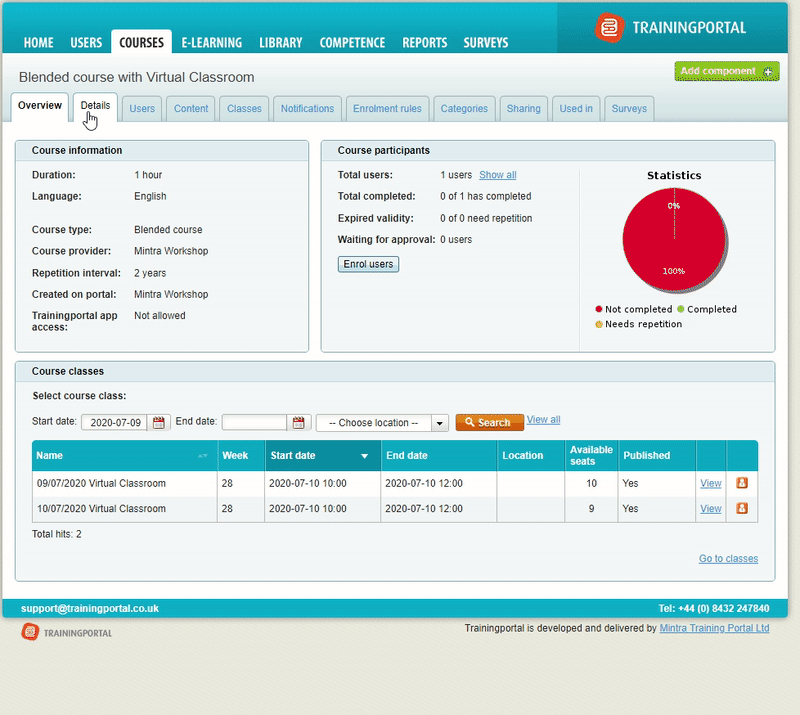
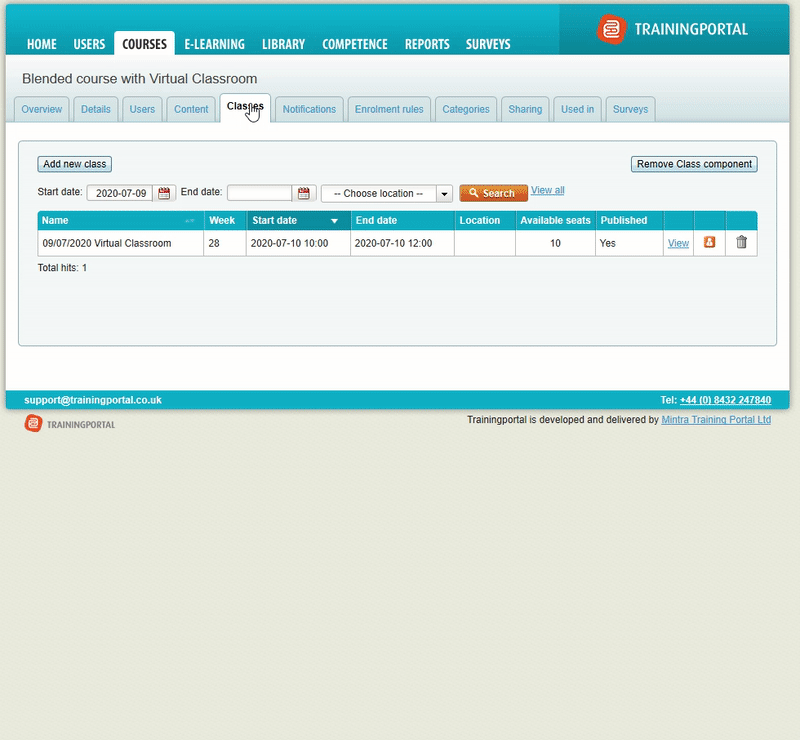
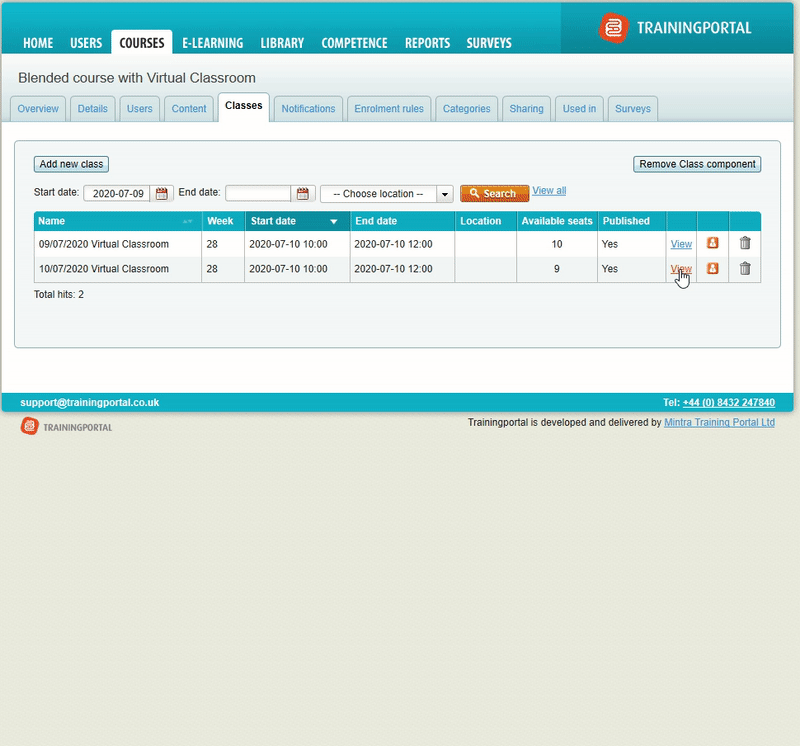
4. Add Course Class Session
For the blended course you must add a classroom session that the student will be expected to add. To do this, you must add class dates within the classes tab which users will be booked onto when enrolled in the course. In this section we will add a new class date to the blended course:
4.1 - In the classes tab, click on the add new class button.
4.2 - Add a suitable name, we often recommend including the date in the title for future references.
4.3 - Add a short description if required and then select the start and end date for the classroom session
4.4 - For Virtual Classroom courses we recommend that you do not show the map information and send the calendar/schedule information to the user.
4.5 - Add the maximum number of attendees, booking & cancellation deadlines before clicking on complete to finish.
5. Add an Instructor to the class to begin Virtual Classroom configuration
The blended course has been set up as required. To turn the classroom session virtual, we must add an instructor who will conduct the class. In this section we will demonstrate how to add an instructor to the class:
5.1 - Navigate to the required classroom session and click on the users tab
5.2 - Select the instructor icon and then add instructors
5.3 - Chose the required user account from your user list who should become the instructor for the virtual session
5.4 - Select finish to add the instructor
6. Convert Classroom session into an online Virtual Classroom
In the final step before publishing the new course, we will cover the classroom setting into a virtual classroom course. In this section we will demonstrate how to enable the virtual classroom setting. We recommend using our standard notification template displayed within the video to notify participants how to log in and join the virtual classroom:
6.1 - Select the required class date and click on the details tab. Select add new session to begin.
6.2 - Select the virtual classroom option and then add a suitable name for the session. We recommend that you state the Virtual Classroom information in the title
6.3 - Add the start and end time for the virtual classroom session
6.4 - We recommend for virtual classrooms not to send the schedule information at this point as the schedule information is being sent on the main class set up carried out in step 4 of this guide.
6.5 - Click Save to complete. We recommend that you add a notification email to the class using our standard virtual classroom template. This will provide students with clear instructions on how to join the virtual classroom along with start times etc.
7. Publish and assign users to the course with Virtual Classroom session
Once the course is finalised, we recommend that you set the course from draft to published. This will allow administrators or students, depending on the enrolment rules, to start booking the course. In this section we will demonstrate how to publish the course and assign it to users:
7.1 - Navigate to the details tab of the course. Click on edit button and set the status to published
7.2 - Select the users tab and then click on enrol users
7.3 - Select the required users and then pick the most suitable class date
7.4 - Click finish to complete the booking