01. Create role
3 people found this article helpful
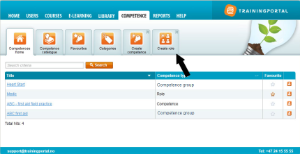
- Click the button Create role.
- Fill out the form:
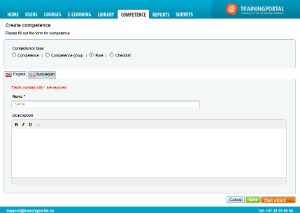
- Under Competence Type you may change your selection from Role to Competence or Competence group.
- Give the item a name. This field is mandatory. If you use multiple languages on the portal, you must fill out the name in all languages.
- Fill in an optional description.
You now have two options:
- Click Save to manually configure the new item.
- Click Start wizard to go through a wizard to configure the item.
Read more about the two options here.
The wizard for creating a new role
The wizard shows you the possible settings and actions for creating a role, and consists of the following optional steps (you can skip the steps you do not wish to complete by clicking Next):
- Details: Fill out the form with type, name and description. This is already done when you start the wizard, so you may go directly to step 2:
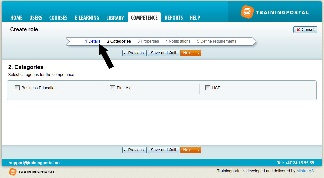
- Categories: Select the categories you would like to add. You can also choose not to add any by not selecting any.
- Properties: Select the properties you want to include.
- Notifications: Select the type of notifications you want to create for the role. Read more about notifications here.
- Define requirements: Here you can define which competence groups and competences are required for the role. To find the relevant competence groups and competences, you have the following options:
- Search for name or description
- Filter on competence type and search.
Tip: To view only competence groups, choose competence groups in the drop-down menu and click Search without entering anything in the search field. You will then see all competence groups on your portal. - Get info on an item by clicking on the Info icon
- See the items you have selected by clicking the Selected competencies link. Click on List to go back to the list of available items.
- Filter on competence type and search:
Tip: To view only competence groups, choose competence groups in the drop-down menu and click Search without entering anything in the search field. You will then see all competence groups on your portal. - Get info on an item by clicking on the Info icon.
- See the items you have selected by clicking the Selected competences link. Click on List to go back to the list of available items.
- Click Finish to create the role and go to the role overview page.
For portals that use competence priority, priority can be set on the tab Details.
