02. How to create a new lesson
7 people found this article helpful
Creating a new lesson on Lesson Learned can be done in a few easy steps.
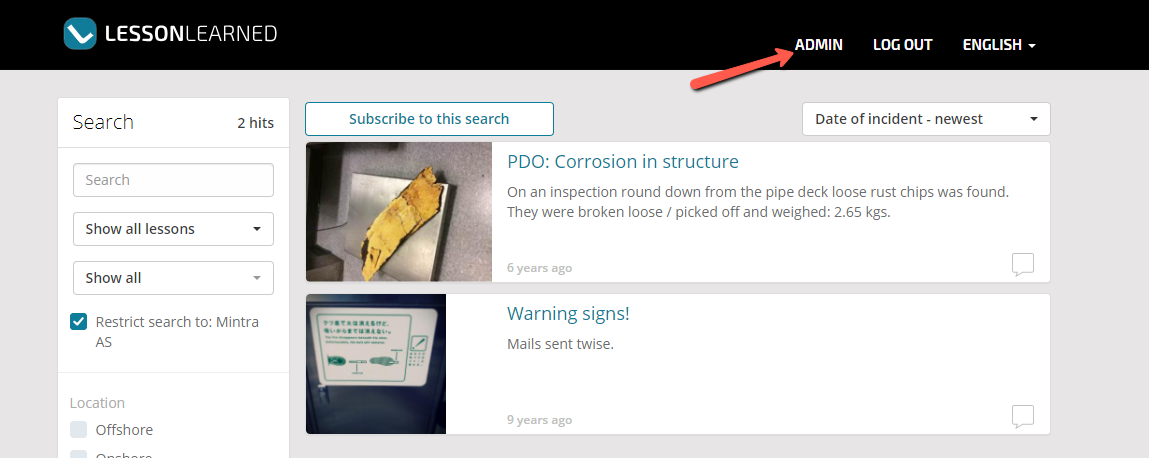
Once logged into the platform, you will see an ADMIN button on the top banner. Click this.
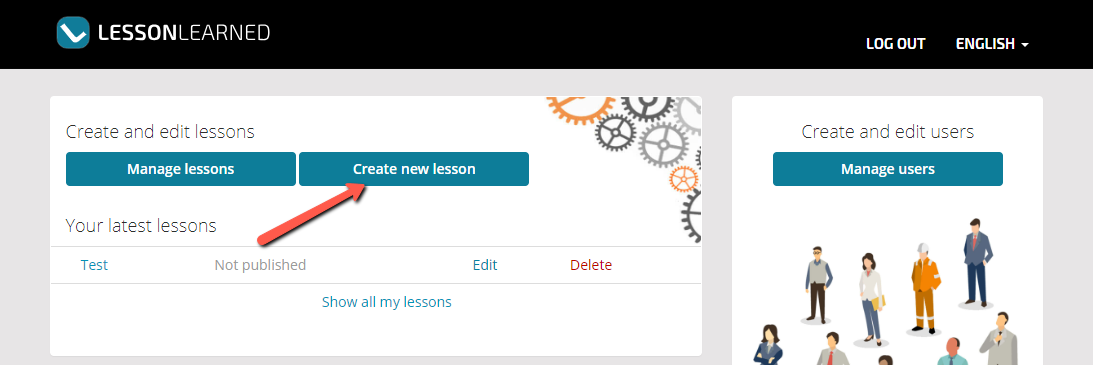
On the next page, you will have an option to either manage your existing lessons, or create a new one.
Click Create new lesson.
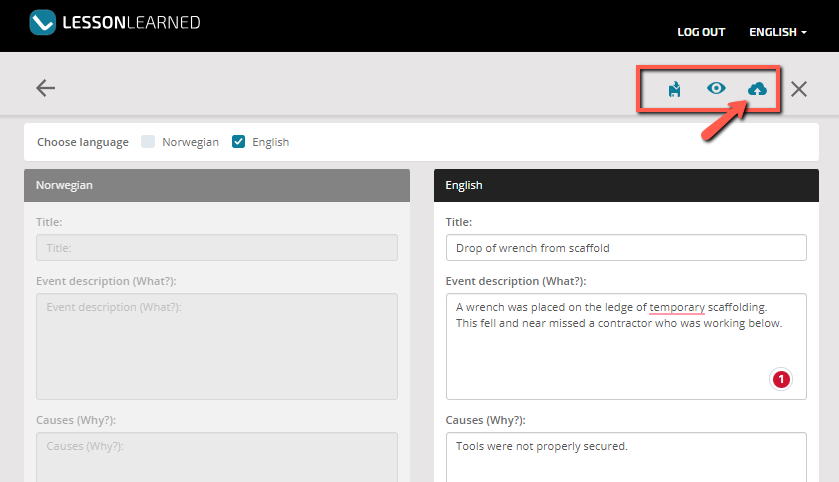
Once on the create lesson page, you will have the option to add this in English, Norwegian, or both.
Use the choose language check boxed to make your selection.
You can then populate the text boxes for the various fields, such as Title, Event Description, Causes and Lesson Learned.
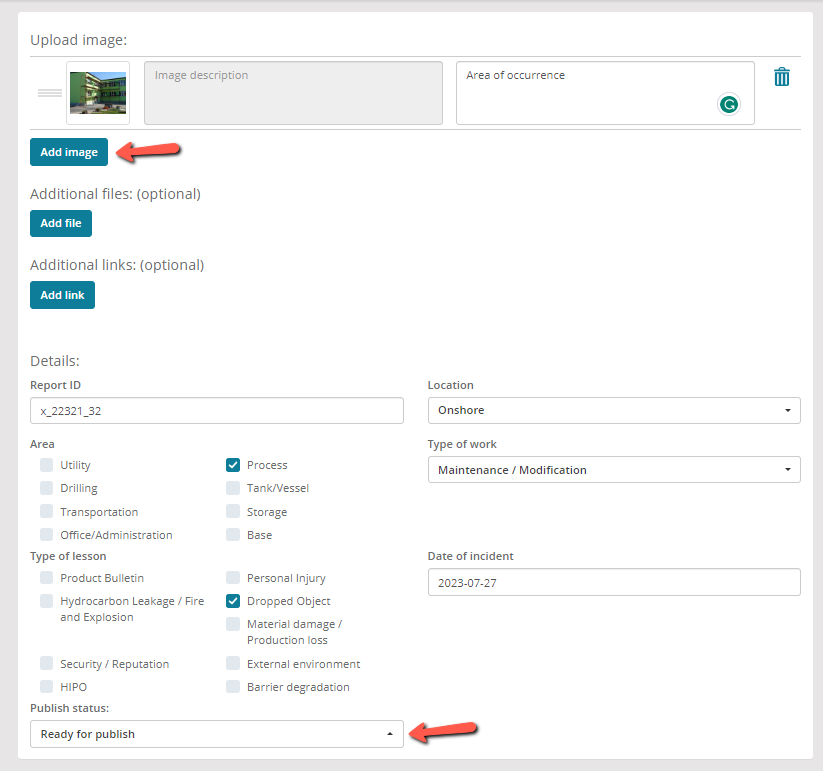
At the bottom of this form, you wil have the option to add images that are relevant to the event. click add image to add this and provide an optional description.
There is also space to add any additional supporting documents or files.
Finally, you can tag the lesson with your own report ID, as well as categories, locations, type of work and the date of the incident.
Once you are happy with your lesson details, you can preview this by clicking the eye button at the top of the form.
If you wish to come back to this later, you can save this in a Draft state, by leaving the Publish status as Draft, and clicking save at the top.
If you wish to publish this lesson and make it visible, you an change the publish status to Ready for publish, then click the publish button at the top of the form.
Please note, if you are a contributor, you will not have access to publish this fully, only administrators can fully publish the lesson to make this visible.